Dear diary,
It’s been a few years since I wrote a post for the New Year. The tides of change have visited my little life, so here we are as 2024 draws to a close. You may want to sit down and have a nice tea to enjoy while you read on. I’m going to be completely honest. I have been preparing a master plan for over a year now for how I will make my life the way I want it to be.
How it Started
A year and a half ago, I took a new full-time position doing a job that really fulfills me. It beckons me to utilize my knowledge and skills, as well as giving me the freedom to call on my creativity to design engaging, real-world activities that align with educational program learning outcomes and goals for the many programs I have worked on. In this element, it feels like an orchestra playing in perfect time and tune where I can become engrossed in the world of creation. It’s like being in a place where there are endless possibilities and somehow just the right ones come into view at just the right time.
How can I explain this better…well my cousin is basically a math genius and she once told me that she could see equations as 3D images in her mind. I was in awe of her description of it as math is not a gift I share with her and I certainly do not see anything that beautiful when I attempt a math problem. It sounded so interesting and wonderful to learn that she had this experience. Now, when I do my work, this memory comes to mind because I think I understand the meaning and depth of her gift when I do this work. I feel the beauty of it too. I also love the team I work with and was super excited when my work bestie recommended me for the job. When we work together, we feel this magic like we are adding to an artful masterpiece. It’s super cool. It has been really busy and I have enjoyed these aspects of it very much.
But…
As time went on, I started having difficulty balancing my life. The way we work on the programs means I am often working more than I should be. I don’t know how other people fully do all the things with this type of a schedule. It’s hard to keep up. I started finding it difficult to make time for my ashtanga yoga practice, be completely invested in what my kids are doing and thoughtfully devoted in my relationship so what I felt compelled to let go of was the time I had for me. Facing the reality of it all, my kids, my husband and my job were my priorities and I couldn’t justify taking the time left I had available to do anything but get the house ready to sell, clean, investigate the real estate market, mortgage options, all the important things to get my big plan in motion. For anyone who has been in the market this past year, they know, it has been a very fragile and unpredictable year.
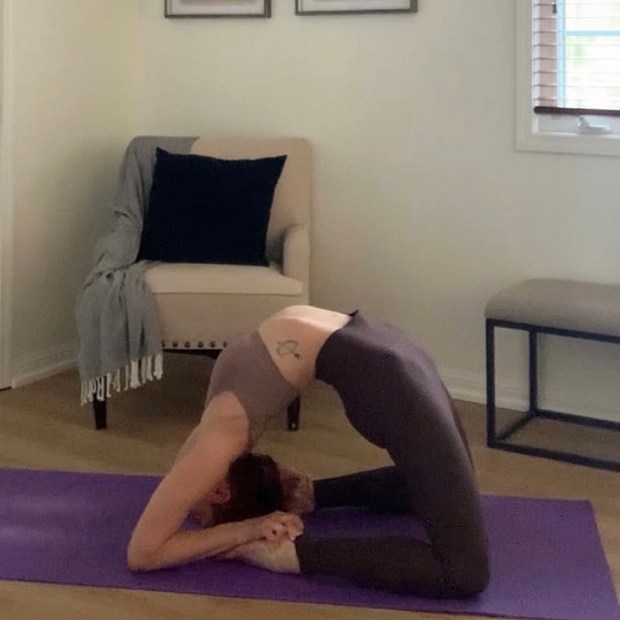
Slowly, I started to notice that my anxiety crept back up, I couldn’t sleep property and I could barely wake up in the morning, so I began to feel ragged. I wanted to be 100% for all the things, but this was not a possible reality for me in this worldly dimension. There were not enough hours in the day or energy in my body and mind to keep up with it all. I would cry a lot about how I was failing to be all that I wanted. Without my solitary time, my yoga time – the fundamental balancing force in my life – I was getting spun up and a little bit, out of control. I started having physical manifestations of stress as well so something needed to shift soon.
I had to keep reminding myself that everything was part of a bigger plan. More freedom – more time for my family, maybe take a vacation and space for me to be completely present for everything. These were the start of it – my big plan. I wanted to reduce my work schedule so I could be present at the capacity that I envisioned so as to soak up every moment in appreciation and enjoyment.
Well, so far we made the move and we just went on a vacation, yay! Before the holidays, I gathered the courage to ask for a reduction in hours at work. I was greeted with support and told that this was definitely an option. At the moment, I feel so much gratitude for what I have and where I am going.
The end of a year can mean many different things for different people. Honestly, this year has been a real handful. So many obstacles appeared at my most vulnerable times, I wondered if things would work out the way I hoped and planned that they would. It seemed that for every piece I moved on the chess board of life, there would be a skilled and calculated move against me. I was focusing on my goal but not realizing the cascade of potentials that may get in the way. I resolved to be patient and ride it out, though I cried several rivers of tears in the process, it was a game that I would not lose without a fight.
On the Other Side
Now, I am here at the end of 2024. There are still more creases to iron out, but my overall vision is now clearly taking steps in the right direction. The support of my husband to make the time he knows and can so clearly see that I need has helped me to bridge the gap even though he has a busy travel schedule and has had many changes along the way too. My world has changed so much in the last year. I have learned more about resilience through it all and above all things, how to keep working, planning and making actions towards a goal, even when the rewards can’t be realized until it is brought to completion. All of this time, I didn’t stop to reflect, there seemed to be no place for it in all the chaos.
The Big Lessons
Now I can see how I managed to make it through with such lessons to behold. All the years that I have dedicated to Ashtanga, they have trained my mind, body and soul to trust in myself. That I have the ability to withstand failure and to appreciate the varied measures of growth that will arise. That I am a force of power that can contemplate, feel and persevere through the labyrinth of circumstances and emotions that may try to stifle my will. It has been a very studious learning experience, this past year. I am on my way, and won’t stop until I get there. I feel so much love for everything, some beautiful things, some bittersweet. With each step, feeling gratitude for what I do have has been the greatest gift. It is the grace that may elevate all hearts to feel the deep motivation and love of life that keeps us moving and reaching for our dreams.
This world isn’t an easy place, suffering is everywhere. It’s all we can do to stay buoyant – to listen, to dream and to find hope will strengthen the heart and amplify the connection to self deep within. As 2024 draws to a close, a new year dawns with the potential for growth of the dreams we are working on, the dreams that we will tackle next and the dreams that we will dream up for the time to come. May 2025 bring you a feeling of hope, strength and faith in yourself, for we all have the power to make our dreams, big or small, come true. Best wishes today and in the coming year ahead.
Love,
Lisa xo